Today's project
The outdoor log rack.
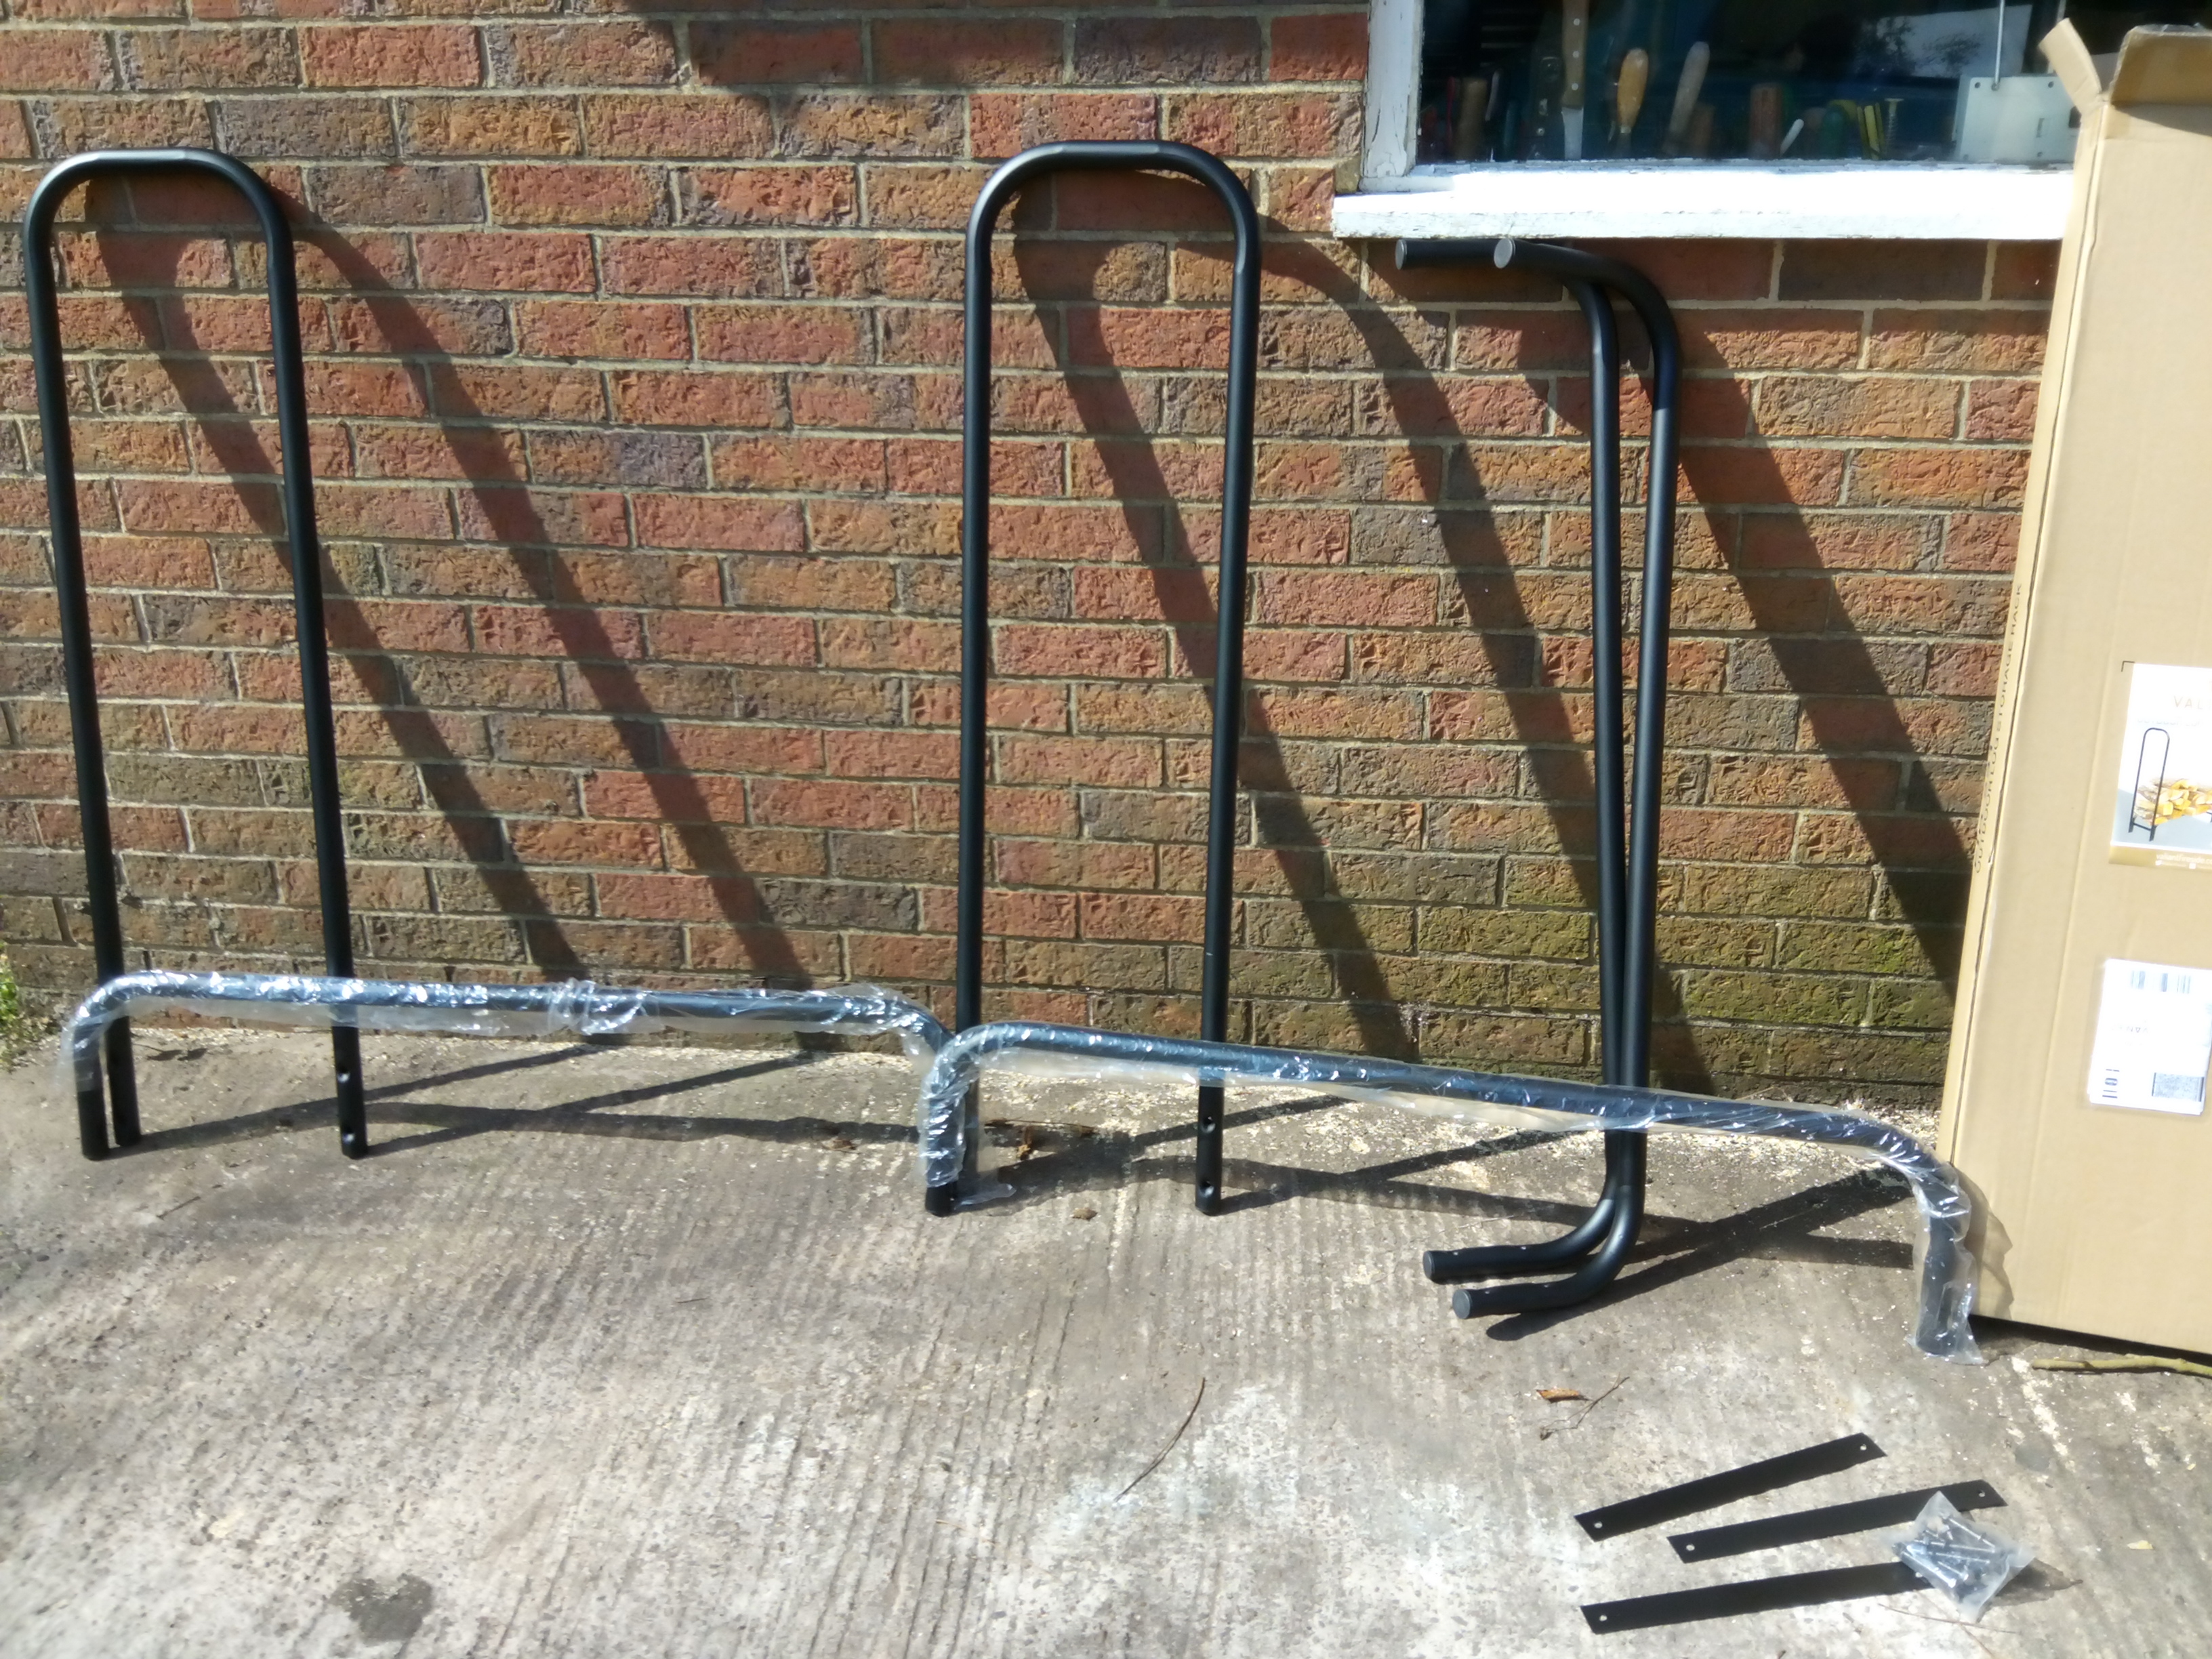
I shall convert it into a 4 foot unit with a shelf rather than a long 8 foot rack, some drilling required!
So that's the main frame. I'm done for the afternoon.

Update - almost done.
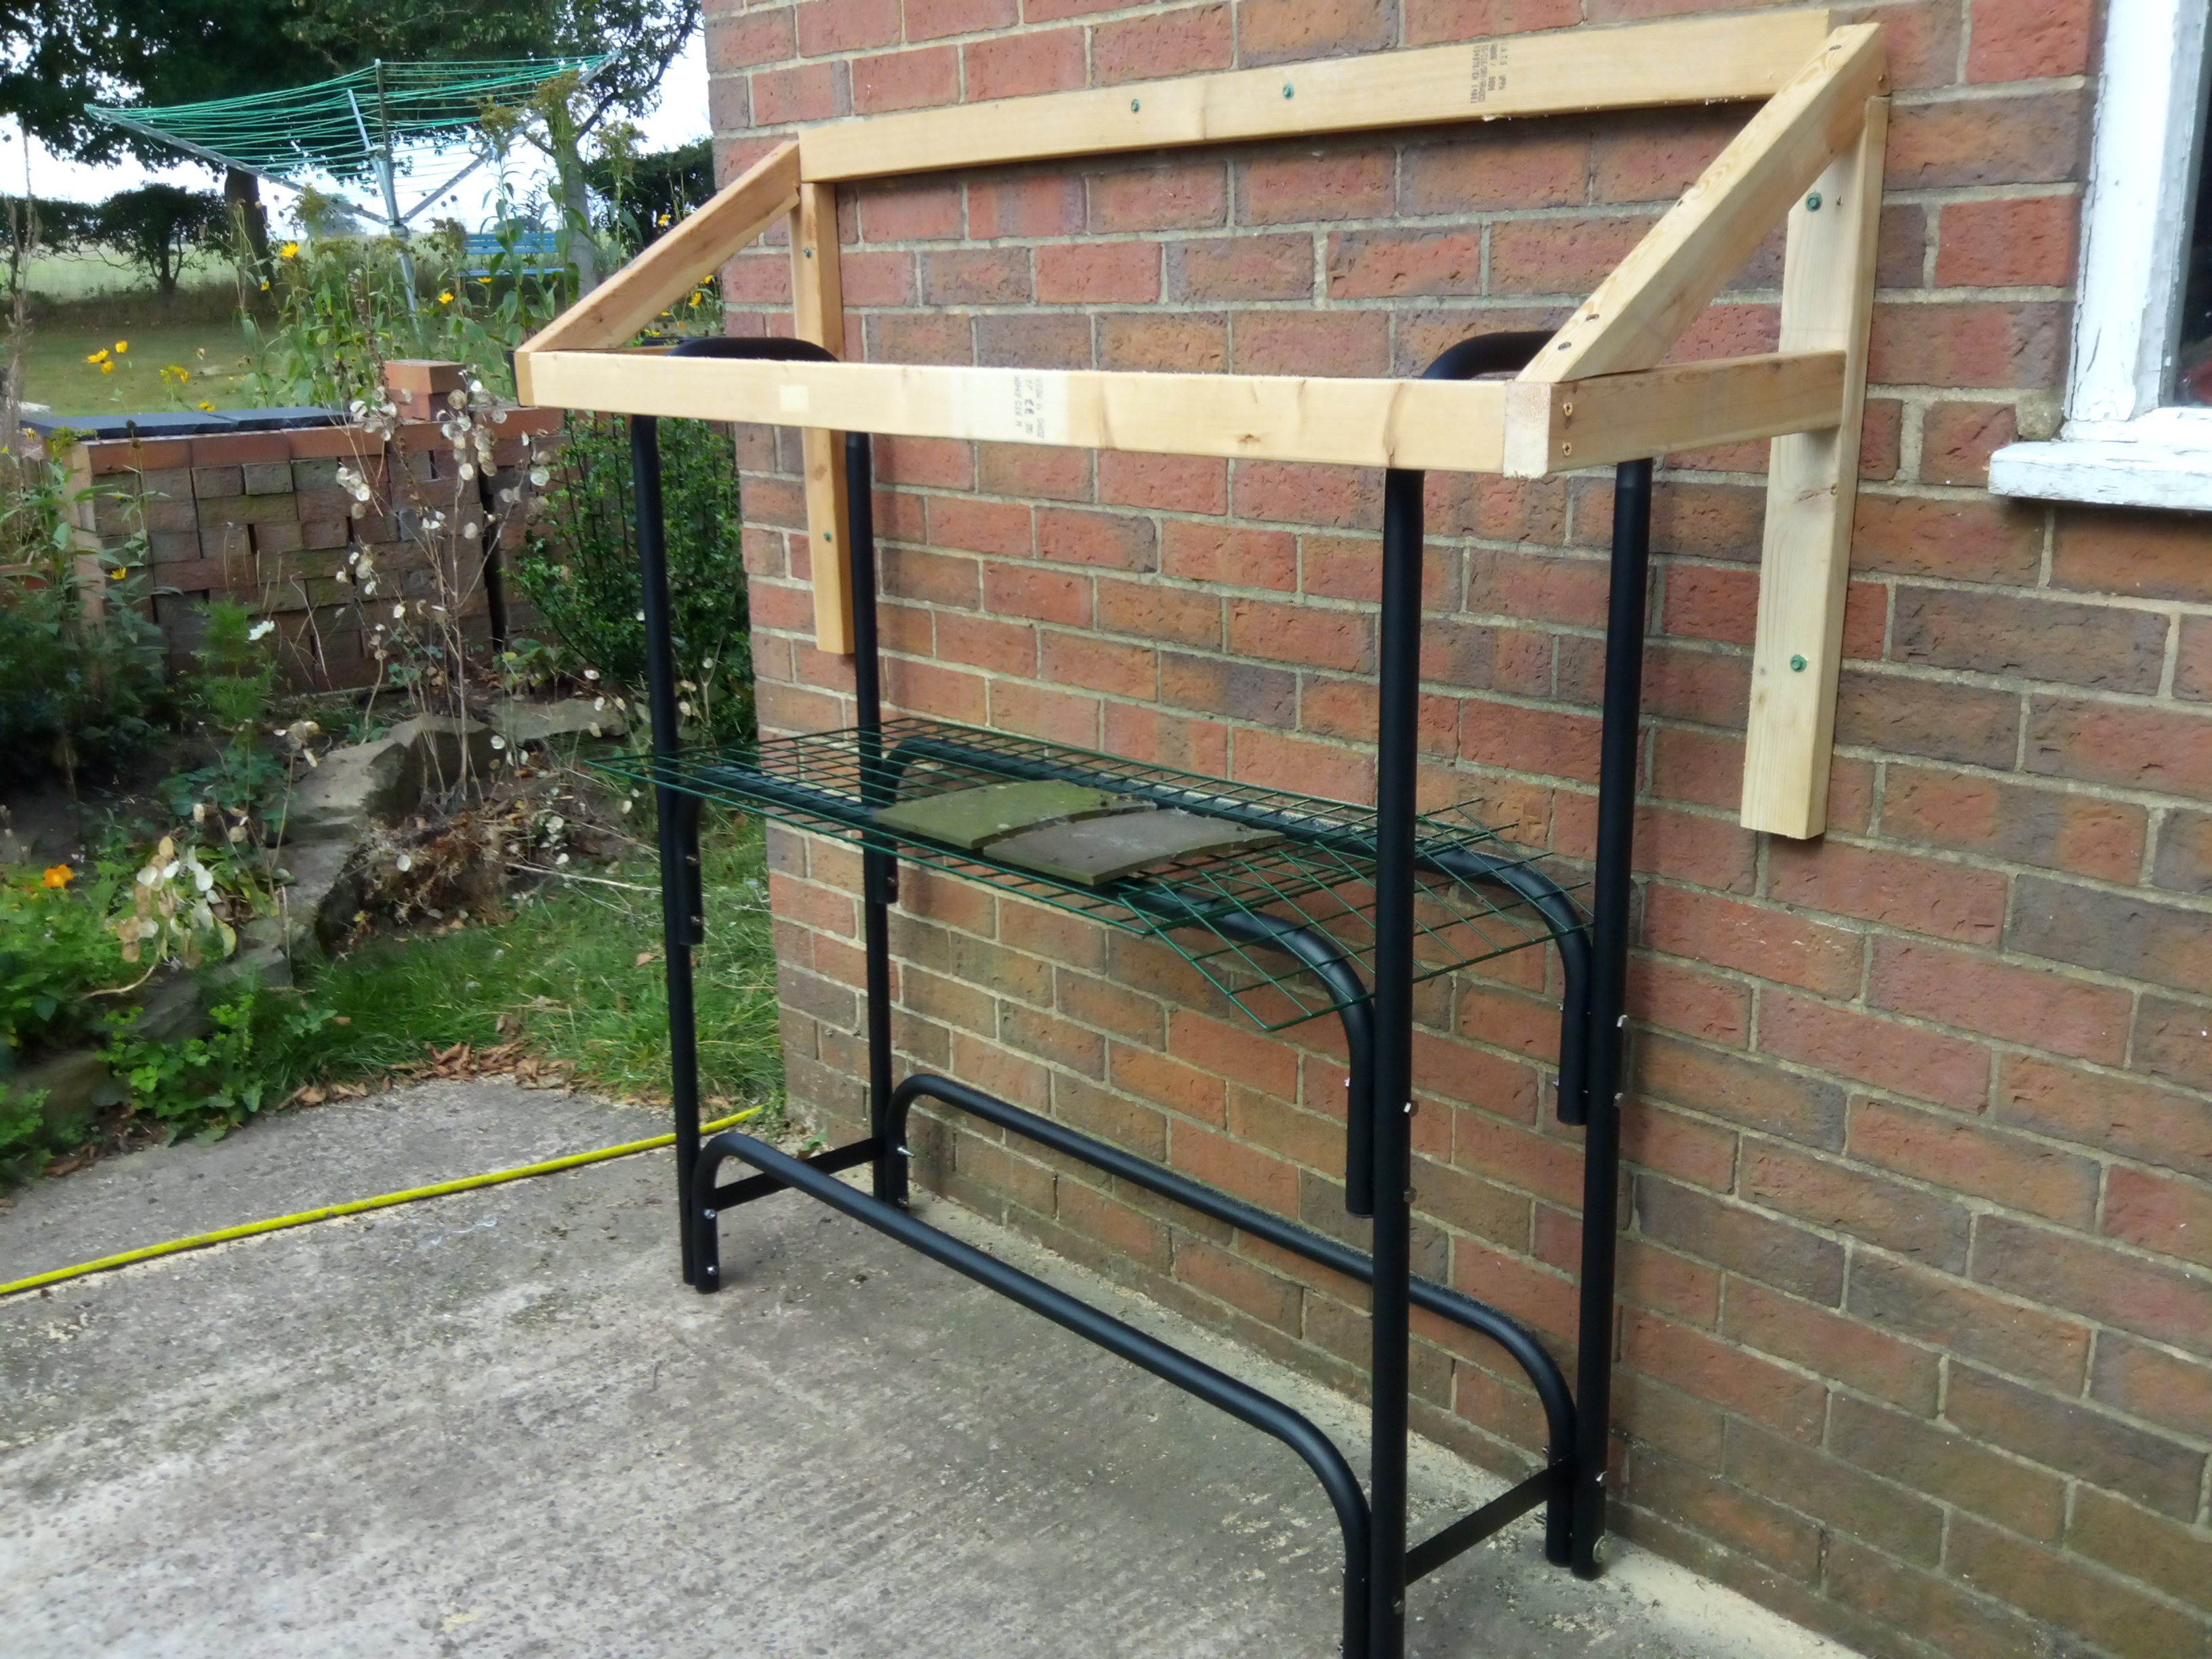

It's wierd how the brain works. Nagging me that the roof needed supports underneath. But of course it doesn't, it's simply a 'hanging'shelf rather than one supported from below. Some mesh on the shelves and it needs some angle to protect the lath ends then I think I have some
cheap stick-on flashing to seal it to the wall (when the rain stops and the wall is dry).
So that's part 1, the easy to grab quickly ready to use log store near the house door. Now I need a larger store elsewhere in the garden for the longer term storage.
Now for the logs!
ReplyDeleteDon't tell him where I live James! I haven't got a guard dog - yet.
DeleteYou're safe Andy, we have trees.
DeleteNice one Woodsy. Is that a proper log rack? Had no idea you could buy them. I have to build the shed first!
ReplyDeleteSimilar idea I had for clothes storage in the front bedroom and will be doing the same for the briquette drying shelves. The bedroom was a weird shape so I decided to wall the useless part off as a clothes storage and make the room more square. The big hole through the wall goes into the void of the false ceiling I did over the stairs:
http://www.creations.parga.com/closet.jpg
I made my hangers from galvanized hand rail tubing and Keyclamp fittings, and added a slatted wooden shelf over the top, which is held in position by pipe clamps:
http://www.creations.parga.com/hangers.jpg
Into that hole in the wall sits a shelving unit:
http://www.creations.parga.com/shelves.jpg
Here's another idea I had for a door stop on the bathroom boiler closet door. I couldn't fit a bought one because they only sell either skirting board (radiator behind the door so that one's out) or floor fitting (too far out from the wall). So I made my own with a stainless coach bolt, a strip of stainless, a floor fitting doorstop and a couple of flanged nuts, so the door now has its own adjustable stop built in:
http://www.creations.parga.com/doorstop.jpg
Yes you can buy them Ripper, this is just a simple cheap frame - I'll add mesh shelves I think - but all sorts are around at all sorts of prices (Ebay, Amazonia etc). My plan is to hang a small 'roof' like a porch over it, I have some new spare roof tiles and it will match the porch section over the house back door across from it. That'll be another day!
DeleteThat hanger system looks like a neat use for handrail fittings but goodness you look like you have some serious work to do! Haven't done a house for 30 years, not sure I could now.
To be fair its taken me a while Woodsy, when it was started I was still working 12hr nights, so only had a couple of hours per week to spend on it. Been living in a building site for a while now, its only really got going since I took early retirement at Christmas and since then have been kipping in a sleeping bag on the sofa. The upstairs is just nearing completion, just the new doors to hang and some painting. I've already done a few electrical jobs up there whilst doing floorboard repairs ready to start downstairs. Looks like I will be without a kitchen for quite a while since it has to be gutted to level/tile the floor, and all doors and frames need replacing.
DeleteMoved in here 2017 and by 2019 had done all the outside (for access and to build the workshop) and the bathroom was done. Then it virtually stayed like that until this year as the coof and work put a stopper on it. But to begin with, the house was a disgusting wreck. Before/after pics of the bathroom:
Toilet moved to the small closet next door. Lovely pipe work.
http://www.creations.parga.com/start.jpg
Saved this photo as no one believes me. This is expert tiling, don't know how long it had been like that but the boiler had also been leaking for a few years by the looks of it. I fitted the Louvre doors on the boiler cupboard, originally there were two short doors with a piece of hardboard nailed across the opening.
http://www.creations.parga.com/tiling.jpg
All gutted, boiler fixed and temporarily hooked up.
http://www.creations.parga.com/gutted.jpg
http://www.creations.parga.com/boiler.jpg
After:
http://www.creations.parga.com/finished.jpg
http://www.creations.parga.com/tray.jpg
http://www.creations.parga.com/shower.jpg
The little service cupboard, the door is one of the Louvre doors cut in half. Didn't want a handle smashing against the tiles, so made a corner handle from a bit of aluminium angle. All materials used were offcuts or recycled, it cost me about £10 for paint.
http://www.creations.parga.com/bcupboardfin.jpg
I had no idea that you could buy these racks. I will see which method is cheapest but am already getting some space saving ideas with the racks. My shelves will be long but narrow, and a lot of them since I can only lay out one layer of briquettes for drying. They need to lay on wood so I'm thinking a lot of shelves, floor to roof, about 3 inches apart. I have a little hobby MIG so I can always butcher the racks to suit if they are cheap enough.
Great to see the blog running again.
That's a serious amount of work. Looking good. Our first terraced house was more like that. No electricity connection at all, 3 broken gas wall lights, loo down the garden, one cold water tap, and the upstairs ceilings were all falling down 'cos the roof leaked. We did have a local builder to do the foundations and brickwork to add a bathroom but we camped in the living room while working round the house doing everything else. But we had a house! We then sold it and repeated the exercise on a larger house - that was better , it had electric lights and an electric socket in one room (just the one!). But it was a 100 yr old 5 bed ex farmhouse so loads and loads of work, high ceilings etc. Our current place was bought at auction, newer and structurally not as bad but seriously neglected. The annoying thing is that soon we will likely want to downsize but the work of renovating another - which of course gets it exactly as you want it - is just too much nowadays.
DeleteYour terraced house sounds like the one I grew up in, no electricity, gas lighting, a range fireplace that also did a lot of the cooking and the tin bath kept in the outhouse up the yard, next to the toilet. We had a big cast iron fender in front of the fireplace, and as a toddler I would always be found sitting on it, fascinated by the silverfish.
DeleteThis house isn't for resale, ever. My daughter lost her house and was given this house by the council. They were living back with me at the time and I had to write a note making them homeless. She lived here for 2 years. I also lived in a council house a little further up the street. She was 3 when we moved there so grew up in that house. Living here was making her ill because although the place is structurally sound its a complete wreck due to neglect and poor workmanship by the council and abuse from previous tenants. She had no money to do anything, and one council repair usually leads to ten more, that's if they're willing to do it in the first place.
So I suggested a mutual exchange, she moved into the home she grew up in, already in very good condition with more spacious grounds, and I moved here. Things have improved for her now, and she's just bought my old house.
So, I already knew what I was taking on and to be honest have reveled in the challenge. Even before I lived here I could see things that could be done with it, not requiring a large amount of money on the scale of things but means doing a lot of the work oneself. First thing I did was to apply for the Right to Buy. The council sent out an estate agent to value the house and I made a big deal to him about the state of the place. He entered a valuation of £73k. For being a council tenant for the past 38 years I got a 68% discount of £49,600 and that left £23,360 to pay, which I did by bank transfer, to avoid a loan or mortgage. So as you can see, buying this place was a no brainer. That's £50k (almost) pure profit from the outset. Added to this is how much the house will appreciate in value, less what I spend in refurb. An identical property just across the road was sold only a month ago for £114k.
This is the first house I've owned, and going by my age will be the only one. When I go, my daughter gets my entire estate as security for her and my grandson. I complain about having to sleep on the sofa and other inconveniences but I've had a lot worse in my time. I'm really enjoying the challenge, learning new skills and doing what I want to do, rather than what I'm 'permitted' to do.
We shall stay here as long as we can cope, It's where we brought up the children and in a nice friendly but boring village community so I have been trying to make it old person friendly as much as possible. A few years ago I built a conservatory as somewhere nice to sit, I refitted the kitchen so that should be OK to see our time out and I recently knocked out the tiny downstairs loo, stole some utility room space and made a downstairs shower room/wc so we could if needed live downstairs and ignore the upstairs. Buying a bungalow in a similar location would cost almost as much as the house would sell for. As rural goes we are well provided for, local shop, doctor and 2 pubs. The next village has late shops, chip, indian and chinese take aways. In the other direction the nearest village has those plus a mini supermarket, garage and various other shops. The main worry however is that you need a car, you can get everything you need to live reasonably within a 5 mile radius but only by car. Time will tell.
ReplyDeleteThat's a very neat job Woodsy, I would be proud of that final look, but personally and perhaps due to my own OCD with planning out, I would have gone for having the water run off to the left, rather than the front. I can imagine the inconvenience of this when running out for logs in the rain would mean standing in the curtain of drips across the front. Also, as I found with my workshop, when the water runs off it splashes on the ground and will wet your logs on the lower rack. In my case, being that the workshop is 16 feet I was forced to fit a gutter and drain pipe. The splashing was keeping the rear of the workshop wet and also causing the growth of moss. Its funny how small details like that can derail plans.
ReplyDeleteWhat I would have done, in my twisted imagination, would be to lose those two angled hanging pieces at the ends and mount the left side slightly lower for about a 5-10 degree tilt, so your wall brackets would just be a right angle. Those very neat looking sides you made would then provide the support. Then add a fascia strip across the front. The roof would also need a little overhang at each end. No need for flashing as a strip of visqueen or builders DPC underneath the tile edges front and rear would provide a runoff.
I'm going to have to build another shed for my storage, given that I'll be making briquettes rather than storing logs - any logs or firewood can be stored in the workshop but briquettes have to dry out for months. The best material I've found is ply - not your ordinary exterior ply, but the rubbish stuff that is used on building sites for concrete shuttering. This stuff is completely weatherproof and looks great if you apply something like creocote, though it does not need preservative, a simple coat of paint suffices. The frame will be just CLS with flat roof (also shuttering ply, as is the door) and for the floor I will just lay out some concrete slabs. The lower frame of the shed sits on these and the walls hang over, leaving a gap at the bottom to raise the shed off the ground for water run off. I don't bother with roofing felt, the pigeons around here tend to peck holes in it. I use visqueen sheet which is more slippery, deters the birds and outlasts felt many times over. My old workshop at the other house was built in 1986 and still shows no signs of rot or anything.
If you have to have a shed for your long term storage and its home built like mine, one tip I can give you is to leave the ends of the roof joists open - by that I mean where the roof joists overhang, front/rear on a flat roof or to the sides on an apex roof. This gap is from the joists sitting on top of the wall frame, leaving a castellated opening underneath between the roof and wall. This gap will provide crossflow ventilation and avoid condensation. Fix your trim to the joist ends but leave the overhang open underneath.
I don't have anywhere here for a downstairs toilet due to the position of the soil stack. There was an outside toilet when I moved in but the first thing I did was demolish it as it restricted access to the back. Now, the window cleaner can get in to do the back windows. Ridiculous layout. I suppose I could build a small porch outside the back door with a toilet built on the end, then run the waste underground into the sewer hatch where the soil stack is connected, but no doubt that would cost more than its worth. All I know is, if I become immobile enough to require an old folk's home, then I'll be signing the house over to the daughter, along with any savings I may have.
The little sides are only lightwieght screens, wouldn't hold any weight, and as I wanted a sloping roof the 'hanging shelf' design both supports the frame and the laths for the roof sit on it so it's actually simpler. I did wonder about a bit of small gutter, if any turns up I'll fit some. I could have sloped end to end rather than back to front I suppose but it would have annoyed me visually and been a worse job to tile (I had those left over from a previous job). I might push the boat out and fit a solar led, might be useful on midwinter nights.
ReplyDeleteI see where you're coming from about the roof having to look right, on second thoughts having a roof sloping left would probably annoy me too. It does show the way I think though, function over form always.
DeleteThose sides you mention being thin and holding weight - I can tell you that in such a scenario they would not have any weight to hold. A thin plank of wood may bow or snap if any load is applied but if you turn it on edge and apply the load there it will take literally tons to break it. In your case, the sides would be transferring the weight of the roof onto the wall by their edges - in other words they would be the equivalent of a flat roof with the angled braces underneath. Being screwed onto the wall and top battens would prevent them from distorting. Its actually stronger than the hanging shelf method, since with that, all the weight is on the front batten joint, away from the wall.
I thought the same way when I planned those hangers. The end pieces like an upside down L which the hanging rails are attached to, fit to the wall and floor. All the weight is taken by the floor. The only reason they are screwed to the wall at the top is to prevent them from falling away from the wall by the weight of the clothes, so I was able to use ordinary screws/rawlplugs instead of anchor bolts. Since there is a wall at each end, it would have been easier to just fix hanging rails straight across, but the weight of the clothes would eventually pull the fixings out of the wall. These are mistakes that I've learned from in the past.
Personally I don't think much of solar LEDs, perhaps they work better in climates with more sunlight but here, no. They have a battery, usually a button cell which is charged during the day then at dusk the LED comes on via a dusk/dawn sensor. Problem is that especially during the winter months, the battery doesn't get enough charge and the LED gradually stops working at all, then the battery is no good. So if you have enough light to get your logs, perhaps through a window or door, I wouldn't bother. If you need light out there, a better solution is a small, 10w LED security light driven from the mains. You can get these with a PIR and they are small enough to mount on a door frame over the top of the door. Alternatively you could fit a LED bulkhead light. B&Q sell these for about a tenner. They are 11 watts and emit 600 lumen, which is a bit more than a 100 watt light bulb. They are so good IMO that I've used 4 of these as indoor ceiling fittings, 2 on the L shaped upstairs landing, one at the bottom of the stairs and one in the clothes closet. They have a 5 year guarantee.
I can tell you so much about electrics/electronics, this is my niche. I wanted to fit wall lights in the living room but wasn't keen on the idea that when decorating they need to be removed, leaving cables sticking out the wall. Instead, when I was upstairs doing the floorboard repairs, I put in cables for a switch and ceiling lights in the corners of the living room. The switch cable was fed down with that of the main light and a 2 gang switch fitted. The ceiling lights are just two single studio spotlights with a 4 watt LED GU10 bulb (equivalent to 50 watts) which are angled down and pointed into the corner of the room. This prevents any glare, and gives the same kind of light as a standard lamp in the corner. I don't like dimmers on main lights, they produce no atmosphere and its like sitting in a morgue.
Toying now with plans for an emergency generator.
Looking good.
ReplyDelete